Sequencer and Export


In Content Browser Right Click and add Level Sequence via Cinematics > Level Sequence. Double Click on this new Level Sequence this will open the Sequence panel.
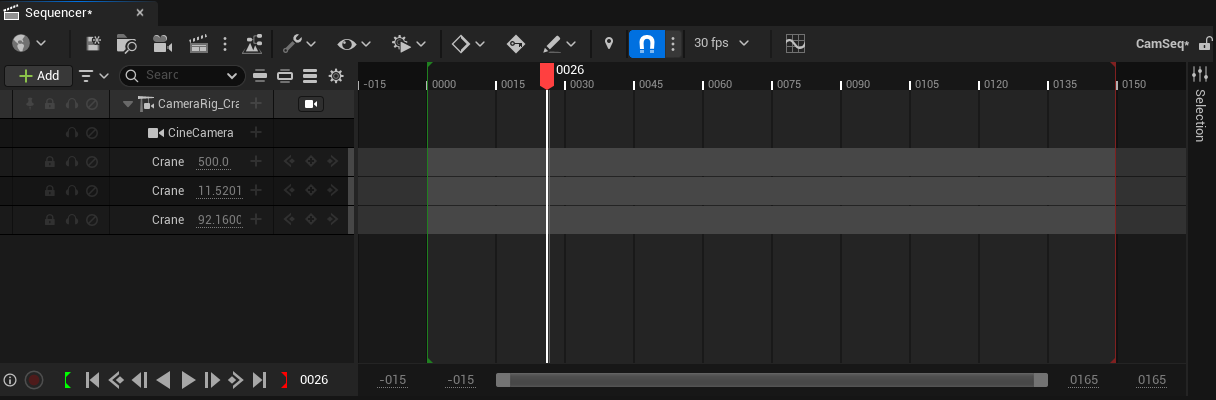
Click on the + Add and from sequencer panel and add CameraRig_Crane or Rail (or both) to the sequencer timeline. By default these will not have any values attached, we can add these via the + button next to these actors in sequencer.
If using the CameraRigCrane add Crane Pitch, Crane Yaw and Crane Arm length so we can keyframe these. If using CameraRigRail add Camera position on Rail value.
If you have ever worked with Premiere Pro or After effects key framing works in a similar manner. Keyframes take the values at one point along timeline and then by scrubbing our timeline along (white line) we can change the values again and the sequencer will animate the values between the two along the timeline.
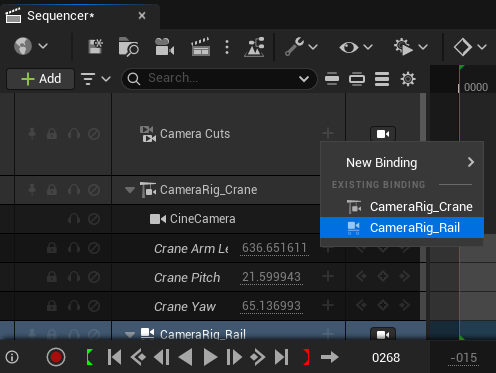
Click + Add and add a Camera Cuts property, clicking on the small + next to Camera Cuts will allow us to add the camera views from our CameraRigCrane and CameraRig_Rail.
You should see thumbnails of these camera POVs, the length of these can be adjust by pulling on the edges of these cuts.
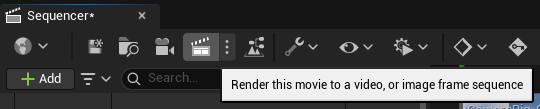
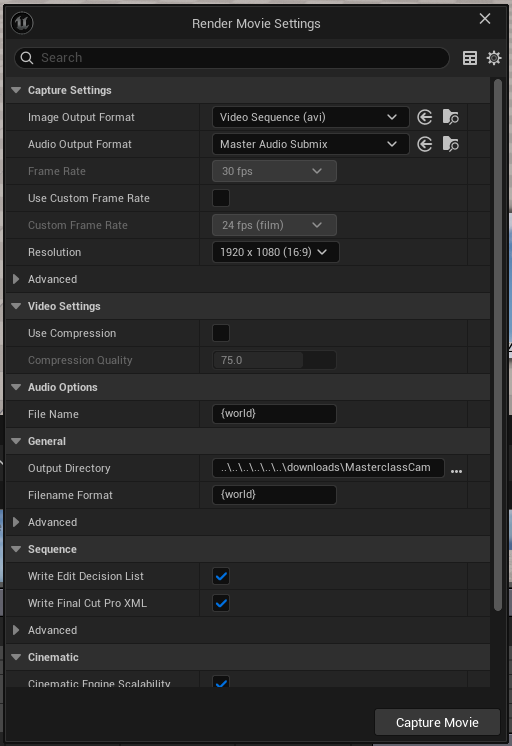
Clicking on the Clapperboard icon will open up the Render movie Settings from which we can render our sequence and camera viewpoints from alongside any audio we may have added to our sequencer or scene.
Choose your output format default is (.avi), also audio output this defaults to None click on it to change to Master Audio Submit to include all audio from level / scene.
We can also over write the frame rate however we are best not doing this. Remember the frame equals how many frames are present per second.
Resolution is the video size and quality, also under Cinematic we gave enabled cinematic render quality.
Change the Output Directory to an appropriate storage area and change the Filename Format from {world} to a suitable name for file.
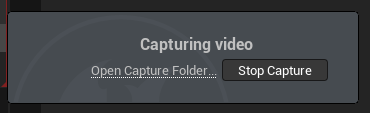
Once done click Capture Movie and wait.